
For anyone wanting to replace their old faded red seat belt buttons, I just replaced mine today and photographed the replacement procedure. The attached photographs have text describing the procedure...just put your cursor on the photo and text directions will pop up at the top of each photograph. I hope this helps other TTA owners. Jerry K.
Please remember to not pry open any portion of the tan plastic seat belt holder or tan receiver as you will damage your seat belt....pry out only the red plastic button.
Please remember to not pry open any portion of the tan plastic seat belt holder or tan receiver as you will damage your seat belt....pry out only the red plastic button.
Attachments
-
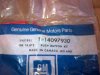 1 GM Parts.jpg37.9 KB · Views: 30
 -
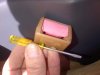 2 Small Screwdriver.jpg25.1 KB · Views: 30
 -
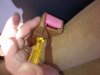 3 Pry Up Front Edge of Red Button...Do Not Pry Open Any Section of The Tan Plastic Seat Belt Hol.jpg33.2 KB · Views: 32
 -
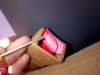 4 Pry Up Red Button Until it Breaks Apart...Remove Any Remaining Red Plastic Pieces of Old Butto.jpg26.4 KB · Views: 28
 -
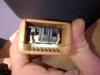 5 View of Interior Without Red Button or Spring....Make Sure No Broken Red Pieces From Old Butto.jpg29.2 KB · Views: 32
 -
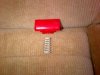 6 New Red Button and New Spring.jpg35.7 KB · Views: 29
 -
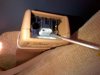 7 Insert Spring Under Black Plastic Fixture.jpg33.1 KB · Views: 34
 -
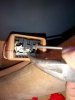 8 Gently Hold Up Black Fixture With Small Screwdriver to Enable Insertion of Small Spring.jpg21 KB · Views: 33
 -
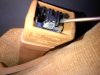 9 View of Correctly Inserted Spring Under Black Fixture.jpg40 KB · Views: 30
 -
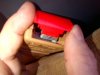 10 Insert New Red Push Button With Large Red Plastic Skirt Facing Towards You.jpg27.5 KB · Views: 31
 -
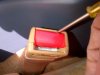 11 Push Red Button Down into Fixture..If Not Moving Up and Down Easily...Gently Insert Small Scr.jpg29.7 KB · Views: 32
 -
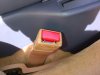 12 Finished View....Depress Button...Should Move Up and Down Easily...Insert Seat Belt and Check.jpg32.2 KB · Views: 24
Last edited by a moderator:


